
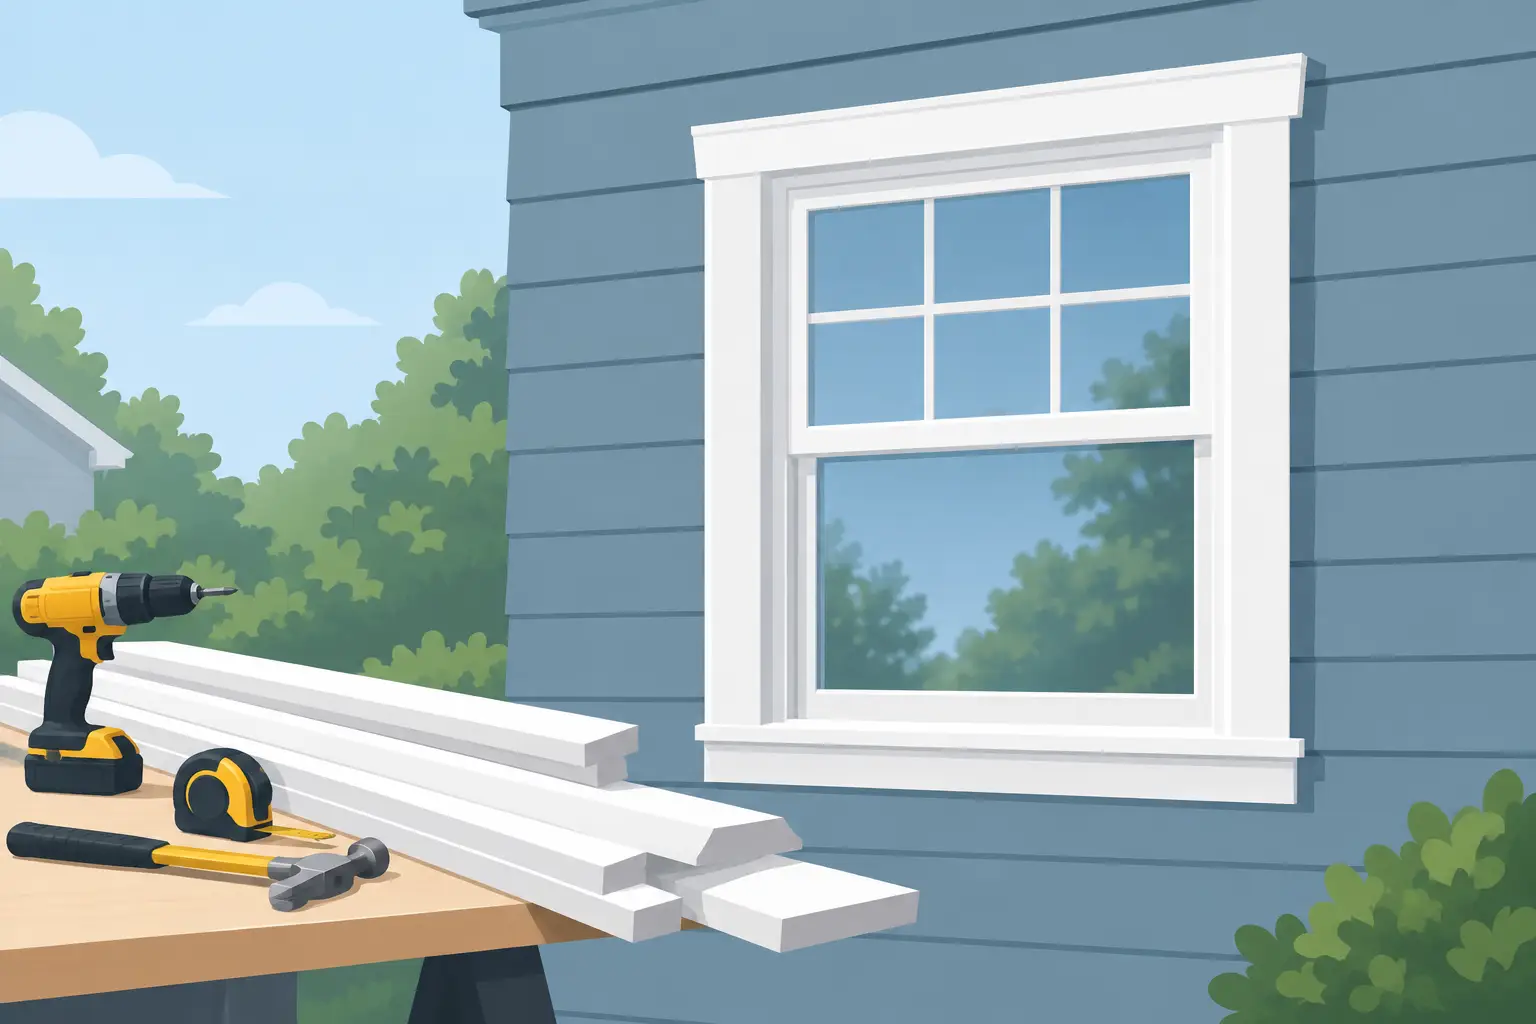
A soft spot beneath a window is rarely just a trim problem. On Northshore homes, peeling paint, split boards, or dark staining around a window can point to repeated moisture exposure - and the longer water has access behind the trim, the more expensive the repair can become. This window trim replacement guide explains what to look for, how the work should be planned, and when a repair should lead to a closer look at the window itself.
Know When Window Trim Needs Replacement
Exterior window trim protects the joint where the window meets the wall. It also gives the home a finished appearance. When trim is intact, properly flashed, caulked in the right places, and painted or otherwise protected, it helps direct water away from vulnerable framing.
Paint failure alone does not always mean the trim has failed. A sound wood board may simply need proper prep and repainting. Replacement makes more sense when the material is no longer solid or when moisture has worked its way behind the face of the trim.
Watch for these signs:
- Boards that feel soft, spongy, or crumble when gently probed
- Open seams at corners, miters, or where trim meets siding
- Repeated bubbling, peeling, or blistering paint in the same area
- Dark water marks, mildew, or staining below the window
- Gaps around the window frame that allow air or water through
A closer inspection should include the sill, lower corners, side casing, and the siding immediately surrounding the opening. Water often enters at the top or sides but shows up first at the bottom. If interior drywall stains, cold drafts, or a hard-to-operate window accompany exterior damage, the scope may be larger than trim replacement.
Start With the Cause, Not the Board
Removing damaged trim without correcting the water path is a short-term repair. The new material may look excellent on installation day and fail again within a few seasons.
Before new trim goes on, the contractor should identify where moisture is getting in. Common causes include failed caulk joints, missing or poorly integrated head flashing, siding installed too tightly against the trim, clogged gutters, roof runoff, or a window that is no longer properly sealed. On older homes, layers of previous repairs can hide these conditions until the trim is removed.
The best repair sequence is straightforward: remove the damaged material carefully, inspect the sheathing and framing, repair any rot, restore the weather-resistant barrier and flashing details, then install the new trim. Caulk and paint are finish protections. They are not substitutes for correct flashing.
This is also the right time to assess whether the existing window is worth preserving. If the window operates smoothly, its frame is sound, and the issue is limited to exterior trim, a targeted repair can be a smart investment. If there is rot around the rough opening, failed seals, persistent drafts, or multiple windows showing the same problems, replacing the windows and trim together may prevent duplicate labor later.
Choosing Trim Materials for Your Home
There is no single best trim material for every house. The right choice depends on the home’s style, exposure to weather, maintenance expectations, and budget. A detailed quote should explain the material choice rather than treating all trim as interchangeable.
Wood Trim
Wood remains a strong choice for historic homes and projects that require a traditional profile. It can be milled or shaped to match existing details, which matters on older homes in Peabody, Salem, and throughout Essex County. Properly installed and maintained wood can last for decades.
The trade-off is maintenance. Wood needs careful priming, sealing of cut ends, quality paint, and periodic inspection. It is also less forgiving where water management is poor. For a home with deep architectural details or a need to match original millwork, that added upkeep may be worthwhile.
Cellular PVC Trim
Cellular PVC is a popular option for exterior trim because it resists rot, insects, and moisture. It holds crisp lines, can be cut and fastened much like wood, and is especially useful on sills, lower trim sections, and other areas that see frequent wetting.
PVC is not maintenance-free. Joints, fasteners, expansion allowances, and paint compatibility still matter. Dark colors can create heat-related movement, and poor installation can lead to open seams or visible fasteners. A crew experienced with the material will account for those details from the start.
Fiber Cement and Composite Options
Fiber cement and engineered composite trim can provide a stable, paintable finish that works well with compatible siding systems. These materials may offer a practical middle ground for homeowners who want durability without changing the visual character of the house.
Their performance depends heavily on installation. Cut edges, clearances, fastening, and paint requirements must follow the product specifications. Material selection should support the entire wall system, not just the appearance of one window.
A Window Trim Replacement Guide to Proper Installation
Good finish carpentry begins before the first board is cut. The opening needs to be measured for square, checked for damaged framing, and reviewed against the siding or exterior cladding. If the original trim had poor proportions or trapped water, copying it exactly may not be the best answer.
The trim should be installed with intentional drainage in mind. Horizontal pieces need to shed water, the sill should have a slight outward pitch, and the top of the window needs a properly integrated drip cap or head flashing where appropriate. The weather-resistant barrier behind the siding should overlap flashing correctly so water is directed outward, not behind the new work.
Fastening matters as much as fit. Boards should be secured without overdriving fasteners, which can create depressions that collect moisture or show through paint. Joints should be tight but should also allow for the natural movement of the chosen material. For PVC, that may mean planned expansion gaps and compatible adhesive. For wood, it means sealing every fresh cut before it is exposed to weather.
Caulk belongs at vertical joints and transitions where it prevents wind-driven rain from entering. It should not create a dam at locations designed to drain. This distinction is easy to miss, which is why trim work is more than a cosmetic task.
Once installation is complete, proper finish work protects the investment. Wood should receive a quality primer and paint system, with special attention to end grain, fastener heads, and seams. A clean paint line and consistent sheen make the repair look intentional rather than patched.
Repair One Window or Plan a Larger Project?
A single failed trim board does not automatically require a whole-house project. Targeted repair is often the right approach when the damage is isolated and the surrounding siding, windows, and framing are in good condition.
A broader project may offer better value when several windows have failing trim, the siding is nearing replacement, or window upgrades are already being considered. Combining related work can reduce repeated disruption and lets the installer coordinate flashing, siding transitions, trim profiles, and paint as one system.
This is where Good, Better, Best options are useful. A good option may address an isolated repair with a durable material. A better option may include surrounding trim and localized siding corrections. The best option may coordinate window replacement, exterior cladding repairs, and paint so the entire opening is protected and finished consistently. The right choice depends on the condition of the home, not on pushing the largest scope.
What Homeowners Should Expect From the Work
Professional trim replacement should not feel mysterious. Before work begins, homeowners should know which boards are being replaced, what material will be used, whether hidden rot is anticipated, and how any added repairs will be documented and approved.
During the project, crews should protect landscaping and nearby surfaces, keep the work area orderly, and remove debris daily. If opening the wall reveals damaged sheathing or framing, clear communication matters. A good contractor explains what was found, why it matters, and what the repair options are before moving ahead.
Afterward, inspect the finish from both close up and across the yard. Trim lines should look straight, joints should be clean, paint should be even, and the window should operate properly. Ask how to maintain the material and when to inspect caulk and paint. A quick annual walk-around, especially after a hard winter, can catch small issues before they become hidden rot.
For homeowners who want the job handled from diagnosis through clean finish work, US Home Improvement brings dedicated carpentry, siding, and painting crews to the same project. That coordination matters when the repair needs more than a new board.
Your window trim should do more than frame a view. It should protect the wall behind it. Address the source of moisture, choose materials that fit your home and maintenance goals, and insist on careful flashing and finish work. That is how a trim repair earns its place for years, not just seasons.