
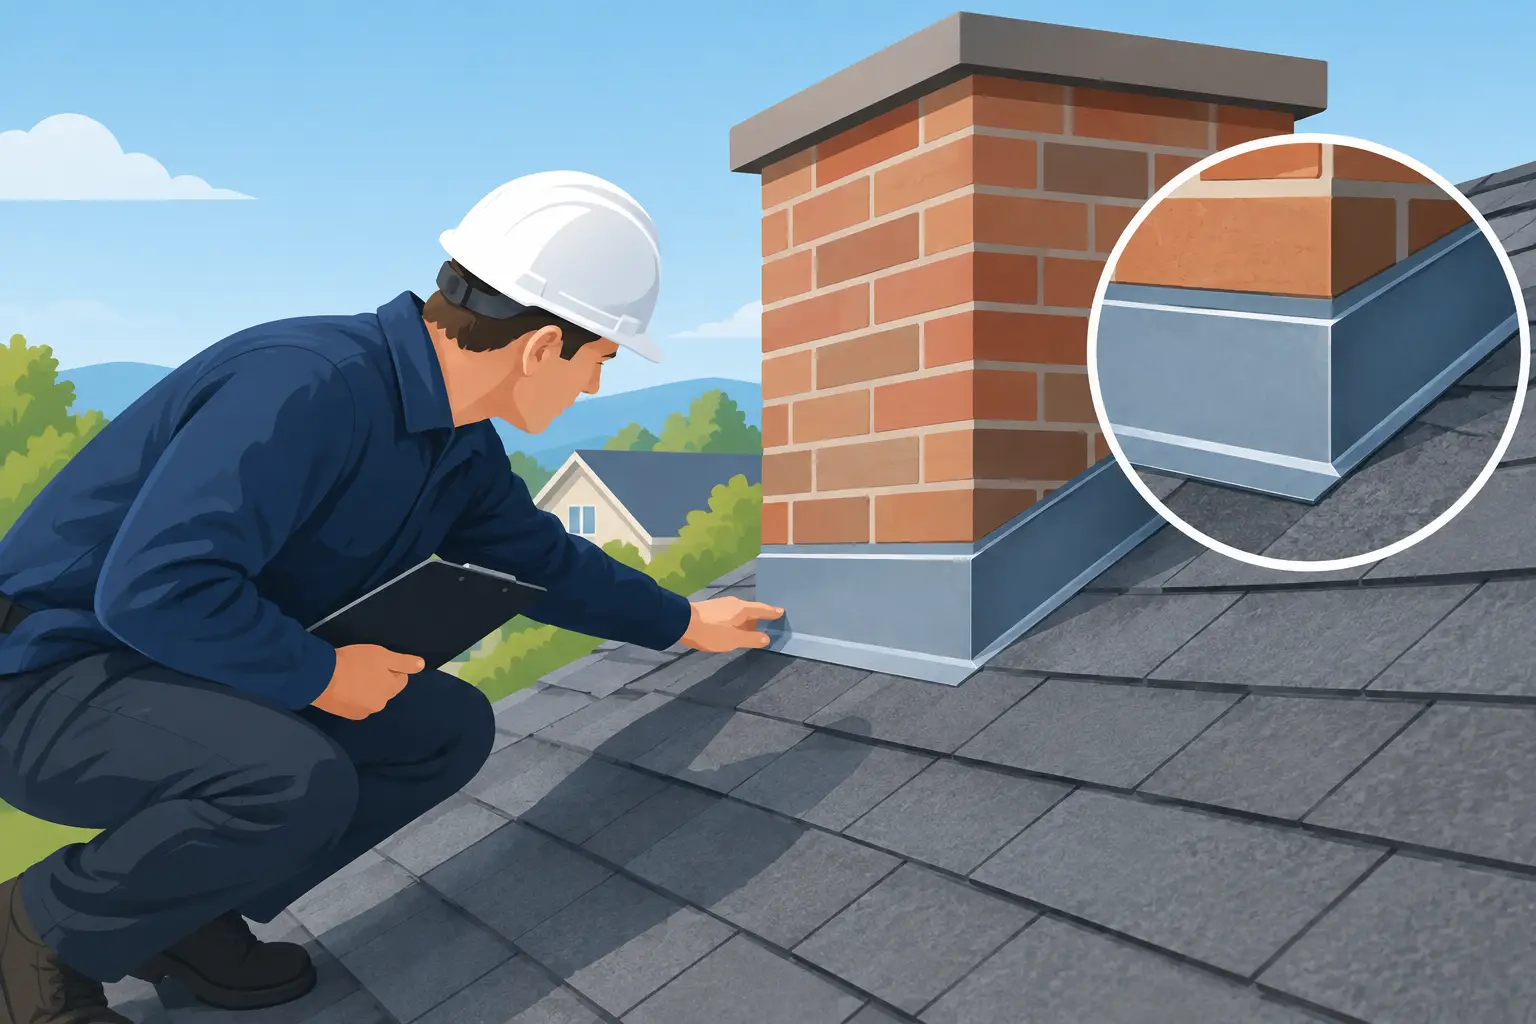
A roof can look perfectly sound from the driveway and still admit water at its most vulnerable seams. A roof flashing inspection focuses on those seams: the metal and membrane details that direct water away from chimneys, walls, vents, skylights, and roof transitions. Catching a loose edge or failed seal early is usually a manageable repair. Waiting until a brown ceiling stain appears can mean damage to sheathing, insulation, framing, and interior finishes.
For homeowners across the Northshore and greater Boston area, flashing deserves particular attention. Wind-driven rain, freeze-thaw cycles, ice, and years of temperature movement can work on even a well-installed roof. The goal is not to panic over every imperfection. It is to identify details that are no longer shedding water as designed.
What a Roof Flashing Inspection Looks For
Flashing is not one single piece of metal. It is a system of overlapping components that must work with shingles, underlayment, siding, masonry, and sealants. When those materials are installed in the right order, water is guided down and off the roof. When one layer is bent, missing, improperly lapped, or sealed as a shortcut, water can travel behind the surface.
A careful inspection starts at the areas where the roof meets something else. Chimneys are a common concern because they require step flashing along the sides, a back-pan or cricket above the chimney, and counterflashing integrated into the masonry. If any of those pieces are loose or poorly detailed, water may enter only during a hard, wind-driven storm. That makes the problem easy to miss until it has been active for some time.
Roof-to-wall intersections need the same attention. Step flashing should be layered with the shingles, while siding or trim should be kept clear enough to avoid trapping moisture. A continuous strip of face-nailed metal or a heavy line of caulk may look tidy, but it is not always a lasting solution. Good flashing relies on proper overlap and drainage first, with sealant used where it belongs rather than as the whole system.
Other inspection points include plumbing vent boots, bathroom and kitchen exhaust vents, skylights, dormers, valleys, and areas where different roof planes meet. These details experience movement, debris buildup, and concentrated water flow. Small failures there can create surprisingly large leaks.
Signs Your Flashing May Need Attention
The roof does not always announce a flashing problem with an active drip. Look for patterns instead. Water stains near a chimney, skylight, exterior wall, or bathroom vent are obvious warning signs, but peeling paint, damp attic insulation, musty odors, and rust marks can be early clues as well.
Outside, visible gaps between flashing and masonry, lifted metal edges, cracked sealant, exposed fasteners, missing shingles near a transition, and deteriorated vent boots all deserve a closer look. Moss or debris packed behind a chimney or in a roof valley can also hold moisture where it does not belong. Debris alone does not prove a leak, but clearing it safely helps the roof drain as intended.
Pay attention after specific weather events. A leak that appears only after rain blowing from one direction often points to a wall intersection, chimney side, or vent detail. A stain that worsens after ice or snow melts may involve an ice-dam condition, inadequate attic ventilation, or flashing that has been compromised by winter movement. The right repair depends on the cause, not just the location of the stain.
What Homeowners Can Check From the Ground
A homeowner can do a useful first look without climbing onto the roof. Walk around the property after a heavy rain and use binoculars or a phone camera with zoom to look at chimneys, vents, skylights, and the roof edges. From inside, inspect the attic during daylight hours for water marks, damp wood, rusty nail tips, or daylight where it should not be visible.
Also check whether gutters and downspouts are moving water away from the roofline. Overflowing gutters can soak fascia boards and roof edges, creating symptoms that resemble a flashing failure. Keep in mind that gutter maintenance and flashing repair solve different problems, even though both protect the same areas of the home.
Do not make roof access a do-it-yourself test of commitment. Roof surfaces can be slick, steep, or fragile, especially after rain or during cold weather. Walking on shingles can also damage them if you do not know where and how to step. A ground-level review is sensible. Detailed diagnosis belongs with a qualified roofing professional.
How Professionals Inspect Flashing Details
A professional roof flashing inspection is more than a quick glance at the shingles. The inspector examines how each transition was built and whether it still has a clear drainage path. That includes checking for corrosion, punctures, loose counterflashing, failed fasteners, cracked boots, improper shingle laps, and evidence that previous repairs were applied over an underlying installation issue.
The attic often tells the other half of the story. Water can travel along framing before it becomes visible on a ceiling, so the interior evidence may be several feet from the actual entry point. Inspecting both sides helps avoid the common mistake of repairing the stain rather than the leak.
When a repair is needed, the best approach is usually targeted but thorough. Replacing a damaged vent boot may be straightforward. Reflashing a chimney may require carefully removing nearby shingles, installing new step and counterflashing, and restoring the roofing materials so the system sheds water correctly. The visible metal is only part of the work. What is layered behind it matters just as much.
Repair or Replacement: What Makes Sense?
Not every flashing concern means the whole roof needs replacement. If the roof is otherwise in good condition and the issue is isolated, a focused repair can provide excellent value. This is especially true for a failed pipe boot, a small section of wall flashing, or a sealant joint that needs proper correction before damage spreads.
The decision changes when shingles are brittle, roof decking has deteriorated, multiple flashing areas are failing, or the roof is approaching the end of its service life. Repeated spot repairs on an aging roof can become more expensive and less dependable than planning a full replacement with new underlayment and properly integrated flashing throughout.
A clear quote should explain what is being repaired, what materials are involved, and whether surrounding shingles may need to be replaced to complete the work correctly. If there are multiple sound options, a Good, Better, Best approach can help you weigh immediate cost against longer-term protection without feeling pressured into a one-size-fits-all answer.
When to Schedule a Roof Flashing Inspection
Spring is a practical time to look for damage after snow, ice, and winter wind. Fall is another smart checkpoint before leaves, heavy rain, and freezing temperatures return. An inspection is also worthwhile after a major storm, after chimney work or siding work near the roofline, and whenever you notice an interior stain or a new musty smell in the attic.
For an older roof, make flashing part of regular maintenance rather than waiting for a leak. A roofer who is already evaluating roof condition can point out details that may need attention in the next year or two, allowing you to plan instead of reacting during the next storm.
Since 1978, US Home Improvement has helped local homeowners protect the exterior details that make a house hold up over time. The right next step is simple: address small signs early, ask clear questions about the repair, and choose workmanship that treats every roof transition as a water-management detail, not an afterthought.