
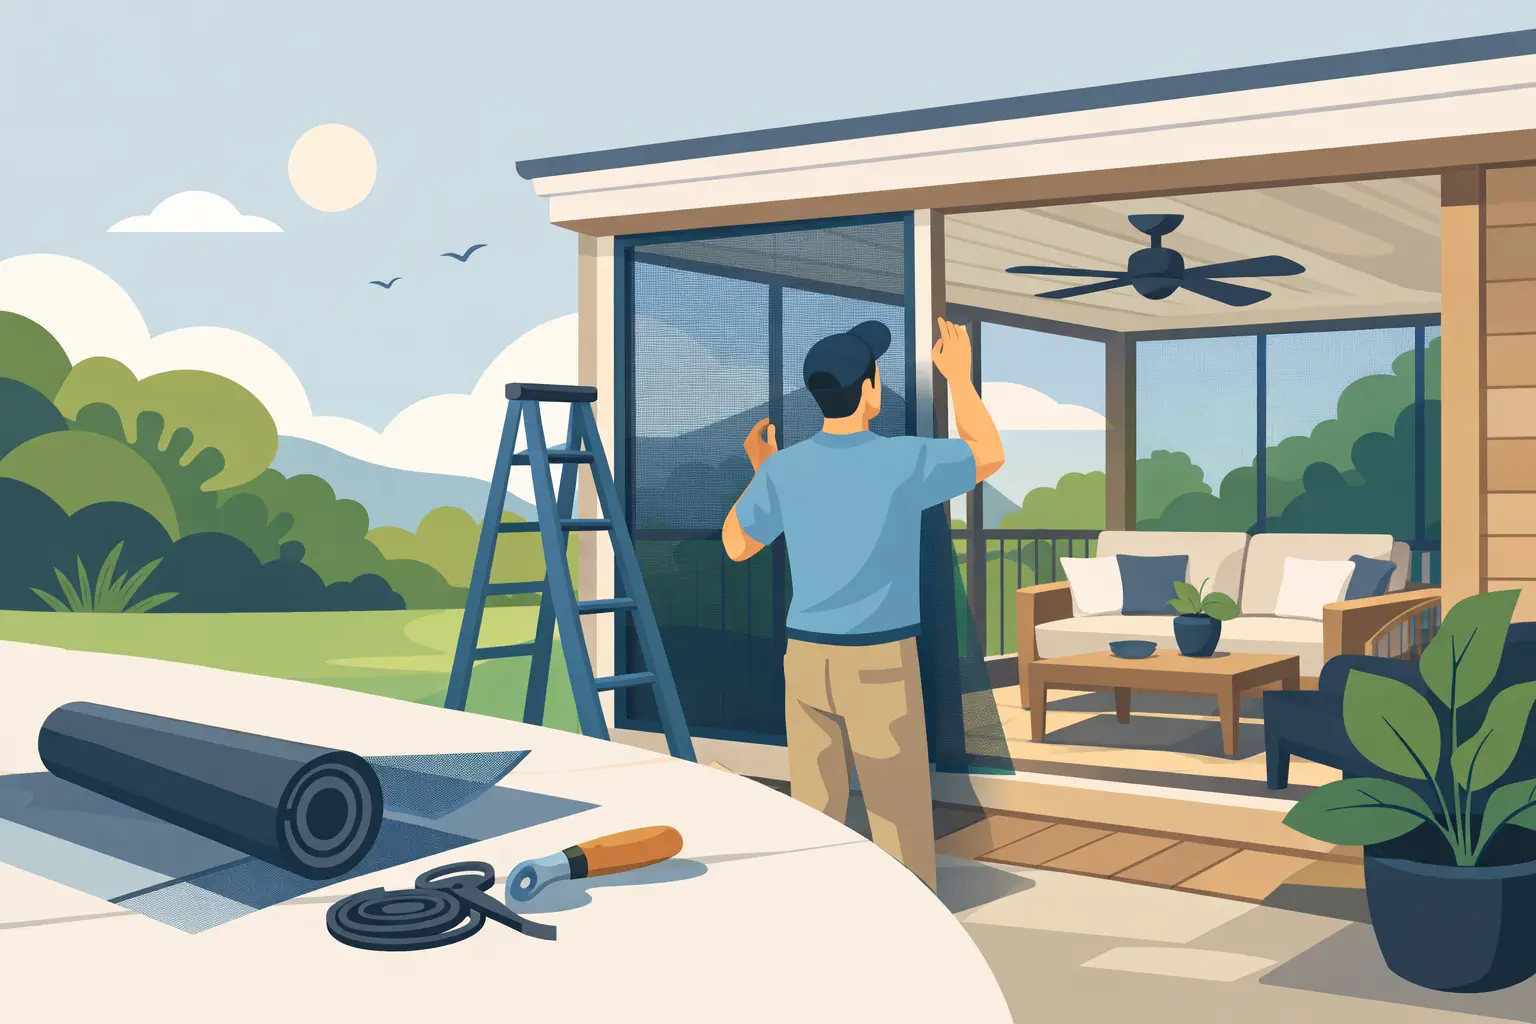
A porch can be one of the best rooms in the house - until mosquitoes, windblown leaves, and summer glare make it hard to use. Learning how to screen in porch openings starts with more than stapling mesh to a frame. The best result depends on a porch that is structurally sound, properly flashed, and planned around how your family will actually use the space.
For homeowners across the Northshore and greater Boston area, that planning matters. A screened porch has to handle humid summers, driving rain, coastal air in some communities, and freeze-thaw cycles that can expose weak framing. Build it right at the start, and you get a clean, comfortable outdoor room that earns its place for years.
Start With the Porch You Have
Before choosing screen material, inspect the structure. Look closely at the roof, posts, beams, deck boards, stairs, railings, and the connection where the porch meets the house. A screened enclosure adds wind pressure to the existing structure, even though the screen itself is lightweight. Loose posts, soft trim, water-stained ceilings, or a sagging header should be corrected before enclosure work begins.
Pay special attention to the floor. A solid concrete slab is generally a straightforward base for a screened porch. A wood deck can work well too, but it should have sound joists, secure ledger connections, and boards with no serious rot. If the deck is older, an inspection may reveal that repairs or new framing should come before screens.
This is also the right time to decide whether you want a seasonal screened porch or a more protected three-season room. Screens keep bugs out and let air move through. They do not block cold weather, pollen, rain mist, or wind the way glass or vinyl panels can. Neither option is automatically better. It depends on your budget, the porch exposure, and how many months you want to use it.
Check Local Requirements Before You Build
A simple screen replacement may not require much paperwork. Building a new roofed enclosure, altering structural framing, adding electrical work, or changing rail heights may require permits and inspections. Rules vary by community, so confirm requirements with your local building department before materials are ordered.
Homeowners should also consider property lines and setbacks if the project expands the porch footprint. In historic districts or condominium communities, exterior changes may require another level of approval. Getting these answers early prevents a mid-project delay that costs time and money.
Choose Materials That Fit the Job
The frame and screening system determine how well the enclosure holds up. Wood framing offers a traditional look and can match an older home, but it needs careful priming, painting, and ongoing maintenance. Pressure-treated lumber is useful near the deck surface, though it should dry adequately before painting. PVC trim and aluminum systems can reduce maintenance and provide a crisp, finished appearance.
For the screen itself, standard fiberglass is affordable and common, but it can stretch or tear more easily than upgraded options. Aluminum screen is stronger but can dent and is harder to install cleanly. Pet-resistant screen is a practical choice near doors or for households with dogs and cats. Fine-mesh insect screen helps with no-see-ums, though tighter mesh slightly reduces airflow and visibility.
Do not make the screen selection based on price alone. A porch facing prevailing winds may benefit from a stronger system. A waterfront or coastal-facing home may need corrosion-resistant fasteners and components. If the porch is a primary gathering space, clearer screening and neatly finished trim are worth the investment.
How to Screen In a Porch Step by Step
A well-built screened porch follows a clear sequence. Rushing the finish work before the framing and weather details are right is where many projects go wrong.
1. Measure every opening and make a layout plan
Measure the width and height of each opening separately. Older porches are rarely perfectly square, so use the smallest measurement when ordering prebuilt panels. Decide where the screen door will go, how it will swing, and whether furniture can move easily through it.
Plan the height of the lower solid wall or railing as well. A knee wall can protect the screen from lawn equipment, pets, and everyday bumps. Full-height screen panels provide a more open view but need careful bracing and stronger trim.
2. Repair and reinforce the frame
Replace damaged wood and tighten all structural connections. Add blocking or intermediate vertical studs where wide openings need support. Most screen materials should not span very large openings without a divider, because wind and normal movement can cause sagging over time.
Use exterior-rated screws, corrosion-resistant fasteners, and properly sealed connections. If new framing touches masonry or concrete, use the right moisture barrier and fastening method. These details are mostly hidden when the job is complete, but they are what keep the enclosure square and secure.
3. Address water before installing screen
Screening will not solve an existing leak. Check that the roof sheds water away from the porch, gutters are working, and flashing at the house wall is intact. If rain regularly blows into one side, consider a deeper roof overhang, a partial solid wall, or a removable weather panel for that exposure.
The bottom edge deserves attention too. If the deck has gaps, insects can still enter from below. Depending on the design, you may need screened skirting, tight trim at the floor line, or a durable bottom rail. The goal is to create an enclosure without trapping moisture against the structure.
4. Install the screening system with proper tension
There are two common approaches. Traditional screen is stretched over a wood frame and secured with staples, then covered by trim. This can look excellent when done carefully, but the screen must be tensioned evenly to avoid ripples. The other option is a track-and-spline system, which holds the screen in channels and makes future replacement easier.
Work from the top down and keep the mesh square with the frame. Pull it snug, not drum-tight. Overstretching can distort the weave and lead to premature tearing when temperatures change. Trim should fully cover staples or fasteners and leave a clean, deliberate edge.
5. Install a durable door and finishing details
A screened porch door gets more use than almost any other component. Choose a sturdy, self-closing door with a latch that keeps it shut. Add a door sweep or brush at the bottom to limit insect entry, and make sure the threshold is safe and easy to step over.
Finish exposed wood with high-quality exterior primer and paint or stain. Caulk only where needed to block water at fixed trim joints. Do not seal areas that need to drain or dry. Add outlets, ceiling fans, or lighting only with proper electrical planning and code-compliant installation.
Design for Real Life, Not Just the First Day
The most successful porch enclosures are designed around daily use. If you eat meals outside, allow enough room for chairs to slide back without hitting the screen. If the porch is near a pool or backyard entrance, use tougher screening at the lower panels. If afternoon sun makes the space uncomfortable, screening alone will not solve it. Ceiling fans, shades, or a change in roof design may be more effective.
Think about maintenance before selecting every finish. White painted trim can brighten a porch but may show dirt and pollen. Natural wood adds warmth but requires periodic refinishing. A lower panel of composite or PVC may cost more upfront while saving maintenance over the long run. Good, Better, Best options can help homeowners make those trade-offs without sacrificing the quality of the structure.
When a Professional Is the Better Call
Replacing a small section of damaged screen is a reasonable weekend project for a handy homeowner. A full porch enclosure is different when it involves structural repairs, roof changes, new posts, electrical work, or complicated water management. Those jobs require accurate layout, reliable materials, and crews who understand how exterior components work together.
A detailed quote should explain what will be repaired, what materials are included, how the screens will be installed, and how the work area will be protected and cleaned each day. US Home Improvement has served local homeowners since 1978 with porch enclosures and exterior carpentry built around those practical details.
A screened porch should feel easy to enjoy, not like another area of the home that needs constant attention. Take the time to fix the structure, choose materials for the exposure, and build the enclosure with clean drainage paths. Then the next warm evening can be spent outside where it belongs.