
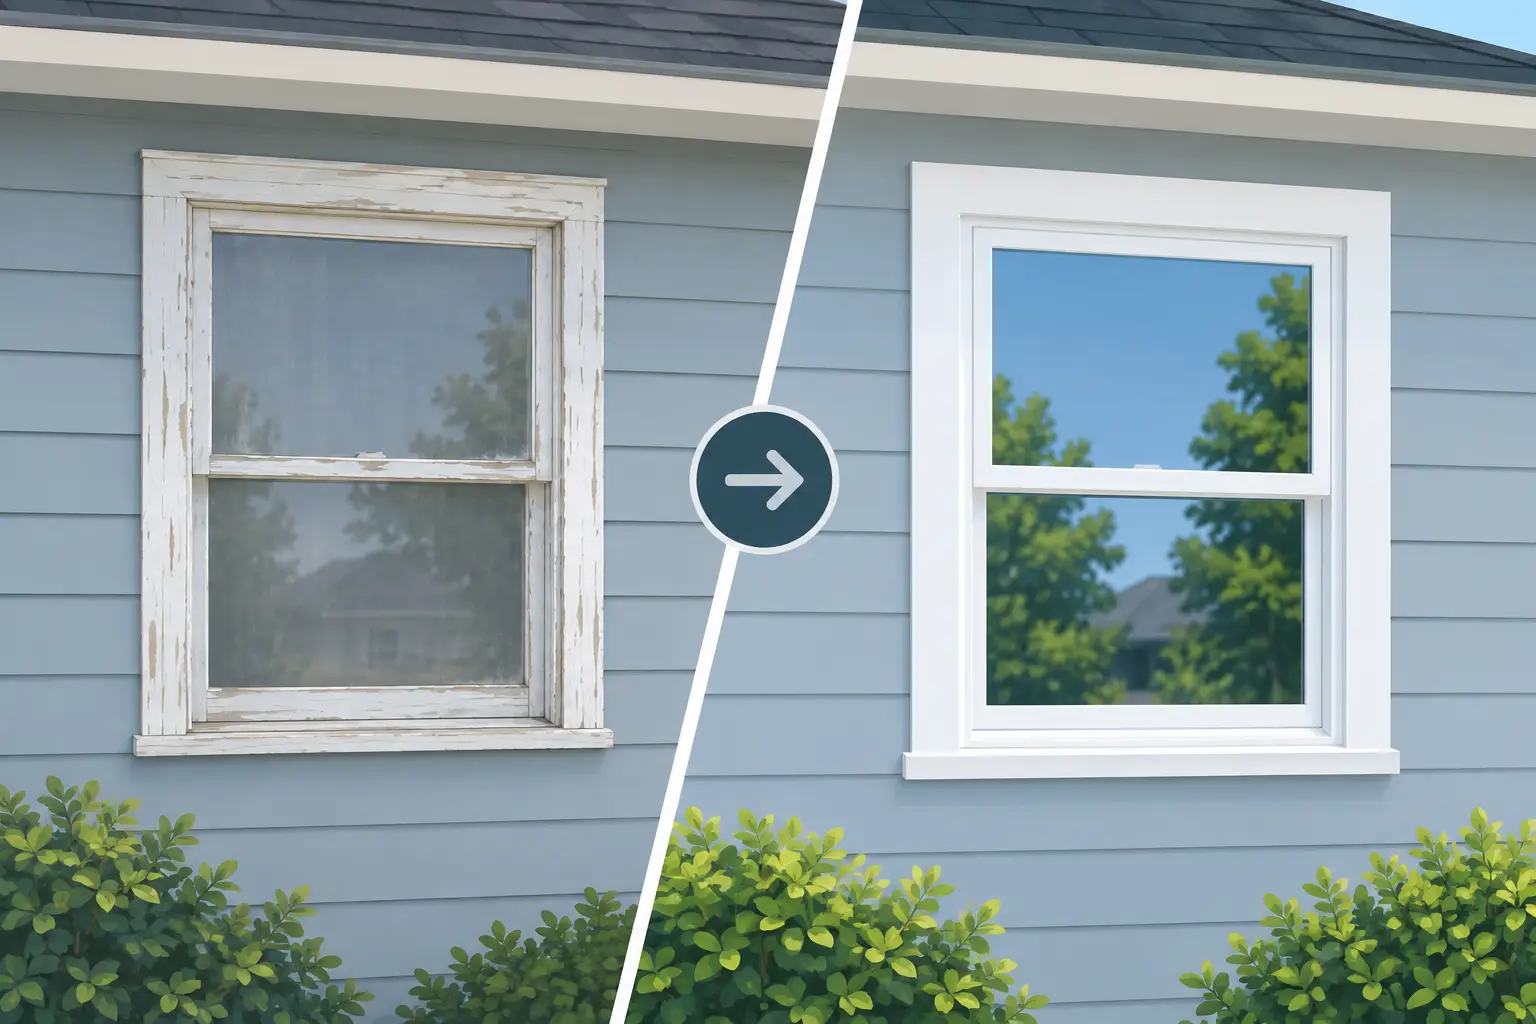
A good window replacement before after example is not just a photo of new glass in an old opening. The meaningful change is what a homeowner feels at the kitchen table in January: fewer drafts, less street noise, windows that open without a fight, and trim that looks like it belongs on the house. The photo is proof of the finish. The comfort, function, and detail work are the real result.
For homeowners across Peabody, the Northshore, and greater Boston, window replacement often starts with one annoying problem - condensation, peeling exterior trim, a room that is too cold, or a window that no longer locks. It becomes a larger decision once you see how new windows can change a home's appearance and day-to-day livability.
Window Replacement Before After Example: A Typical Project
Picture a two-story colonial with original double-hung wood windows. From the street, the home still has good proportions, but the windows look tired. Several sash frames are painted shut. The exterior casing has soft spots near the sill corners, and the white finish has yellowed unevenly. Inside, the homeowners keep blinds closed in winter because they can feel cold air near the glass.
Before replacement, the problems are easy to dismiss one at a time. A draft seems manageable. A sticking sash is annoying but familiar. A little rot gets covered with paint. Taken together, though, these issues affect comfort, maintenance, curb appeal, and confidence in the home's exterior.
After a properly planned replacement, the same home can look sharper without losing its character. Cleanly sized windows create consistent sightlines across the front elevation. New exterior trim frames each opening evenly. The sash operate smoothly, locks engage properly, and the rooms feel less exposed to cold glass and air movement.
The best before-and-after work does not make a home look like someone else's house. It preserves what works about the architecture while correcting the parts that have worn down.
Before: What Homeowners Usually Notice First
Most homeowners notice symptoms long before they identify the cause. There may be fogging between panes, water staining below a window, rattling in high wind, or a rise in heating and cooling bills. Older windows can also allow more outdoor noise into bedrooms and living spaces.
The exterior tells its own story. Failed caulking, cracked glazing, swollen wood, loose screens, and deteriorated trim can allow water to work into areas that are not visible from inside. Replacing a window without checking the surrounding opening can leave that damage behind.
This is why an on-site review matters. The condition of the frame, sill, flashing area, siding, and interior trim helps determine whether a straightforward replacement is appropriate or whether carpentry repairs should be part of the scope.
After: What a Finished Project Should Show
A finished window project should look orderly from every angle. The windows should sit square in their openings, with even reveals and properly fitted exterior trim. Caulking should be neat, not smeared across siding. Interior stops and casing should be secure, with minimal disruption to finished walls.
Function matters just as much. Each unit should open, close, lock, and tilt or operate as designed. Screens should fit properly. The crew should protect the work area, remove old materials, and clean up at the end of the day.
Those details may not be dramatic in a photograph, but they are what separate a quick swap from craftsmanship that holds up.
What Actually Creates the Before-and-After Difference
The window itself is only one part of the result. A lower-quality installation can undermine a good product, while careful measuring and finish work can make a well-chosen window look and perform as it should.
First comes sizing. Replacement windows must fit the existing opening correctly. An undersized unit can require excessive filler and trim adjustments. An oversized unit can create pressure on the frame or lead to unnecessary alterations. Accurate field measurements are not a shortcut step.
Next is water management. Exterior conditions vary widely around older New England homes. A window may be surrounded by clapboard, brick, cedar shingles, vinyl siding, or composite trim. Each condition calls for thoughtful detailing so water is directed away from the opening rather than trapped behind new materials.
Then there is insulation and air sealing. The goal is not to pack every gap with whatever material is nearby. It is to use appropriate insulation and sealing methods that reduce air movement without distorting the frame or blocking drainage paths.
Finally, the finish work has to respect the home. A contemporary black exterior window may look excellent on one house and out of place on another. Grille pattern, frame color, hardware, casing width, and glass configuration should support the home's style rather than follow a passing trend.
Not Every Replacement Looks the Same
A window replacement before after example can set useful expectations, but it should not become a promise that every project will follow the same path. Homes differ, and so do homeowner priorities.
A homeowner preparing to sell may focus on clean operation, fresh curb appeal, and a sensible budget. Another homeowner may plan to stay for decades and choose higher-performance glass, upgraded frames, or a more historically appropriate style. Both can be smart choices when the scope is clear.
There are also two common installation approaches. Insert replacements generally fit within an existing frame, making them a practical option when the frame is sound and preserving interior trim is important. Full-frame replacement allows the contractor to inspect and rebuild more of the opening, which can be the better answer when there is rot, water damage, poor prior installation, or a desire to change window size or style.
Neither approach is automatically better. The right choice depends on the condition of the existing opening, the home's construction, and what the homeowner wants the finished project to accomplish.
How to Read Before-and-After Photos Like a Homeowner
When reviewing project photos, look beyond the newness of the windows. Ask whether the window proportions match across the facade. Check whether the exterior trim looks consistent and whether the siding transitions are clean. Notice if the photos show close-up details as well as wide shots.
It is also reasonable to ask what was found after the old windows were removed. Older homes sometimes reveal hidden rot or framing issues. A dependable contractor explains the condition, discusses the options, and documents any necessary change before moving forward. Surprises are not always avoidable in remodeling. Poor communication is.
Ask about the work sequence, too. Homeowners should know when materials are expected, how the crew will protect interior areas, what happens if weather changes, and how debris will be handled. A detailed quote should make clear what is included - window units, trim work, disposal, repairs if identified, and final cleanup.
Planning Your Own Window Transformation
Start with the rooms that bother you most. A cold bedroom, a hard-to-open kitchen window, or a front-facing set of aging windows can be a sensible first phase. Replacing every window at once can create a consistent look and may be more efficient, but phased work can be appropriate when budget or timing calls for it.
Bring practical questions to the consultation. Do you want to preserve the current appearance? Is maintenance reduction a priority? Are there rooms where privacy, egress, ventilation, or noise reduction matter more? These answers help shape the recommendation.
US Home Improvement has served local homeowners since 1978 with detailed project planning and Good, Better, Best options. That approach gives homeowners room to make a decision based on their home and budget, not a one-size-fits-all sales pitch.
The strongest after photo is the one that still looks right years later: clean lines, solid operation, protected openings, and a home that feels more comfortable every time the weather turns.