
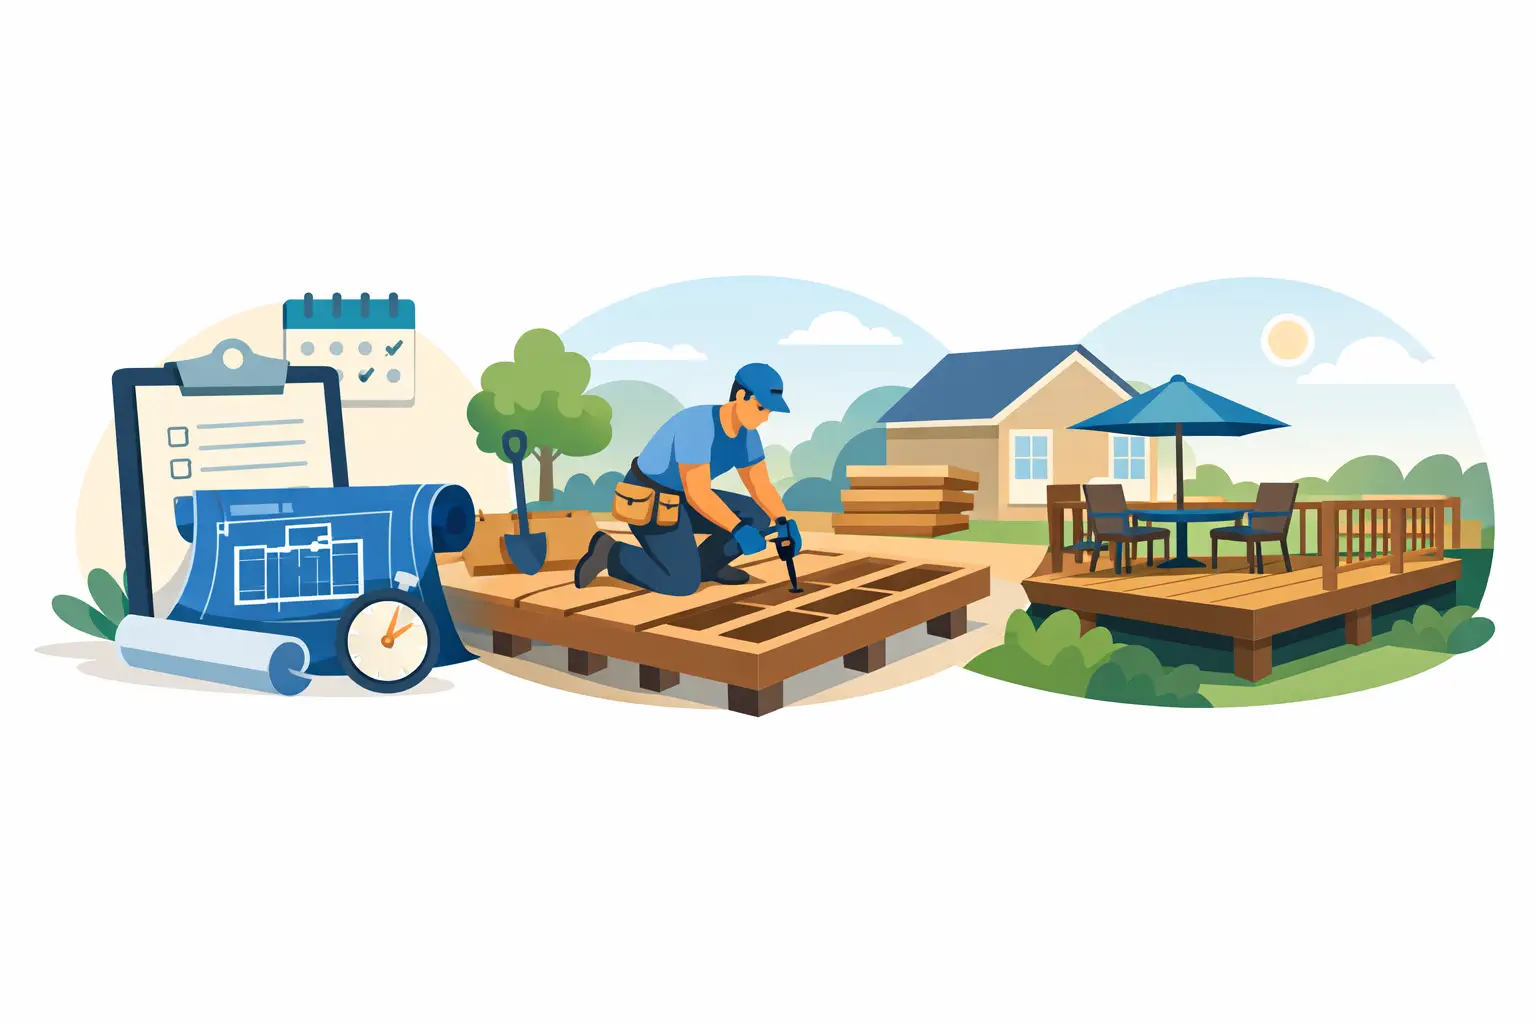
A new deck can transform the way you use your backyard, but the visible construction is only one part of the job. This deck build timeline example shows what happens before the first board is installed, what a typical build week looks like, and where weather, permits, and material choices can affect the schedule.
For homeowners around Peabody and the Northshore, a realistic timeline matters. You may be coordinating graduation parties, summer cookouts, landscaping, or other exterior work. A dependable contractor should give you a clear path forward, communicate changes quickly, and protect the quality of the finished deck rather than rushing to meet an unrealistic date.
A Realistic Deck Build Timeline Example
Most custom deck projects take six to 12 weeks from the first consultation to final completion. The on-site construction portion is often much shorter, commonly one to three weeks. The larger timeframe accounts for design decisions, estimating, permits, material ordering, scheduling, and inspections.
A simple pressure-treated platform deck with straightforward stairs may move faster than a large composite deck with picture-frame borders, multiple elevations, lighting, custom railings, or a roof connection. The goal is not to promise the shortest timeline. It is to establish a schedule that gives every stage the attention it deserves.
| Project stage | Typical timeframe | What happens | |---|---:|---| | Site visit and initial quote | 1-2 weeks | Measurements, discussion of goals, and a detailed scope of work | | Design, selections, and final agreement | 1-3 weeks | Material, railing, layout, stair, and budget decisions are finalized | | Permit and preconstruction planning | 2-6 weeks | Plans are submitted when required, materials are ordered, and the crew is scheduled | | Active construction | 1-3 weeks | Demolition, framing, decking, railings, stairs, and finish details are completed | | Final inspection and walkthrough | 1-2 weeks | Required inspection, cleanup, and a review of the completed project |
These ranges can overlap. For example, material ordering may begin while permit paperwork is being finalized. Still, a project should not move into construction until the scope, structural details, and site conditions are clear.
Weeks 1 and 2: Site Visit, Design, and a Detailed Quote
A strong deck project starts in the yard, not at a desk. During an on-site consultation, your contractor should measure the proposed deck area, look at the existing structure, note elevation changes, and discuss how you plan to use the space. A deck built for quiet morning coffee has different needs than one designed for a family table, grill area, and frequent entertaining.
This is also when practical questions get answered. Will the deck attach to the house or stand independently? Where will the stairs land? Is there room for a landing? Do you need privacy screening, low-maintenance composite boards, or railing that preserves a view? If an old deck is being replaced, the contractor should evaluate whether the existing framing is worth saving or whether a full rebuild is the smarter long-term investment.
A detailed quote should separate the major parts of the work so you can compare options honestly. Many homeowners benefit from Good, Better, Best choices. Pressure-treated decking may make sense for a budget-conscious build, while composite decking and upgraded railing can reduce maintenance and improve the finished appearance. The right choice depends on your priorities, not on a one-size-fits-all package.
Weeks 2 Through 6: Plans, Permits, and Material Ordering
This is the stage homeowners sometimes underestimate because the yard may still look unchanged. It is also where careful planning prevents expensive corrections later.
In many Massachusetts communities, a deck permit is required, especially when the structure is attached to the home, elevated, or includes stairs and railings. Permit timing varies by municipality and by the completeness of the submitted plans. A clear plan with accurate dimensions, structural information, and footing details is less likely to create avoidable back-and-forth.
Your contractor may also need to coordinate utility marking before digging for footings. This is not optional housekeeping. Footings need to be placed safely and correctly, and underground utilities must be identified before excavation begins.
Material lead times can shape the schedule as well. Standard pressure-treated lumber is often readily available, but particular composite colors, specialty railing systems, hidden fasteners, lighting components, and custom trim may take longer. Ordering the full package early helps avoid a half-finished deck waiting on a final railing component.
Weather can influence this phase, but it should not automatically stop it. Rain may delay digging or concrete work, while extreme cold can affect footing and concrete conditions. A responsible schedule includes some room for New England weather rather than treating every weather delay as a surprise.
Construction Week 1: Preparation, Demolition, and Framing
Once permits, materials, and crew scheduling are in place, active work begins. If you have an existing deck, the first day may include demolition and removal. Good site management matters here. The work area should be organized, access to the yard should be discussed in advance, and debris should not be left scattered across the property.
Next comes the structural work: footings, posts, beams, joists, ledger attachment when applicable, and hardware. This is the part of the project that will not be visible once the deck boards are installed, which is exactly why it deserves disciplined workmanship.
A well-built frame accounts for load, spacing, drainage, and the connection between the deck and the home. For composite decking, joist spacing may need to be tighter than it would be for wood. If the plan includes diagonal boards, heavy railings, or a large stair system, the framing requirements may change again. Cutting corners in this stage is never a worthwhile trade-off.
Construction Week 2: Decking, Railings, and Stairs
Once framing is complete, the deck starts to look like the space you envisioned. The crew installs decking boards, borders, fascia, railings, stairs, and trim details. On a simple build, this phase may be completed in a few days. On a larger custom deck, it can take a full week or more.
This is where material choice becomes very noticeable. Composite decking requires consistent gapping and clean layout work to allow for expansion and drainage. Wood decking also needs proper spacing, but it may be ready for staining only after it has had time to dry. If you want a natural wood finish, ask early about the recommended timing for staining or sealing rather than assuming it belongs in the same construction window.
Railings deserve more thought than homeowners often expect. They affect safety, code compliance, maintenance, and the overall look from inside the house. A black aluminum railing can keep a backyard view open, while a composite rail system can create a more substantial, traditional appearance. Either choice can work well when it is selected for the home and installed with care.
Final Days: Inspection, Cleanup, and Walkthrough
The final stage is not simply collecting tools and leaving. If the permit requires a final inspection, that appointment must be completed before the job is formally closed. Inspection availability can occasionally add a few days to the calendar, especially during busy building seasons.
Your contractor should also complete a final walkthrough with you. This is the time to review the stairs, railings, board alignment, trim, gates, and cleanup. Ask how to care for the materials, where water should drain, and what normal seasonal movement may look like. Wood and composite products behave differently through Massachusetts heat, rain, and winter temperature changes.
A clean job site is part of the workmanship. Fasteners, small debris, packaging, and removed materials should be handled properly so your family can begin using the space with confidence.
What Can Change a Deck Construction Schedule?
The best timeline is transparent about variables. Permit review, rain, unexpected rot at the house connection, ledge encountered during footing excavation, material backorders, and added design requests can all affect the calendar. None of these automatically signals poor planning. What matters is how the contractor communicates the issue, explains the options, and keeps the project moving without compromising the build.
Homeowners can help protect the schedule by finalizing selections before ordering, clearing furniture and planters from the work area, making decisions promptly when questions arise, and discussing access needs before the crew arrives. If you are planning a major event, share the date early. A contractor may be able to schedule around it, but no one should promise a completion date that ignores permit timing or weather risk.
The most useful deck timeline is one built around your home, your material choices, and the actual work required. Take the first step with an on-site consultation, then choose a team that treats clear communication, daily cleanup, and quality construction as part of the job from day one.